No Lathe? No Problem.
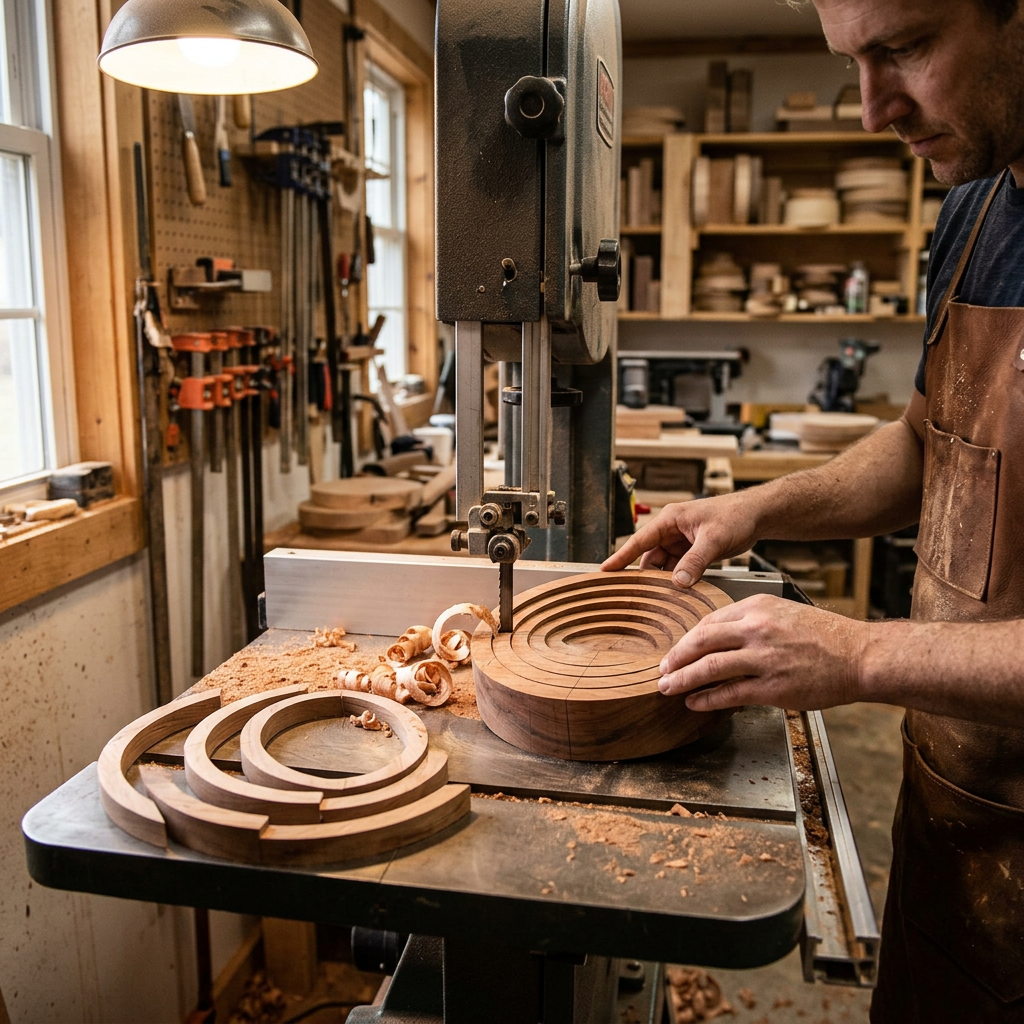
Bandsaw bowls are a clever technique that produces beautiful, functional bowls from flat lumber — no lathe required. The concept: cut concentric rings at an angle on the bandsaw, then offset and glue them to create a bowl shape.
What You Need
- •Bandsaw with at least 6" cutting depth
- •Blade: 1/4" or 3/8" blade for tight curves
- •Lumber: Minimum 3/4" thick, ideally 1.5-2" thick. 8x8" or larger.
- •Wood glue (standard PVA/yellow glue for domestic species)
- •Sandpaper: 80 through 400 grit
- •Finish: Food-safe if the bowl will hold food
Best Wood Species
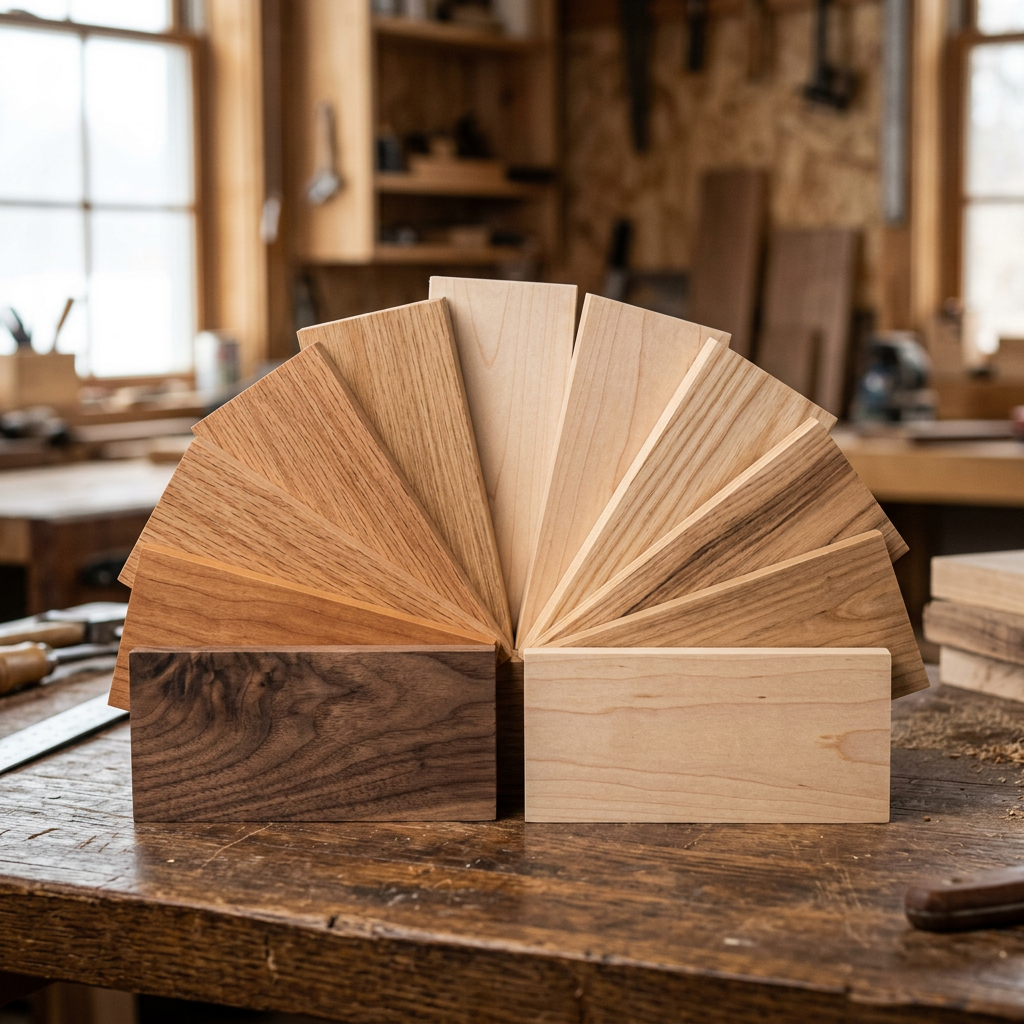
Almost any species works, but these are excellent choices:
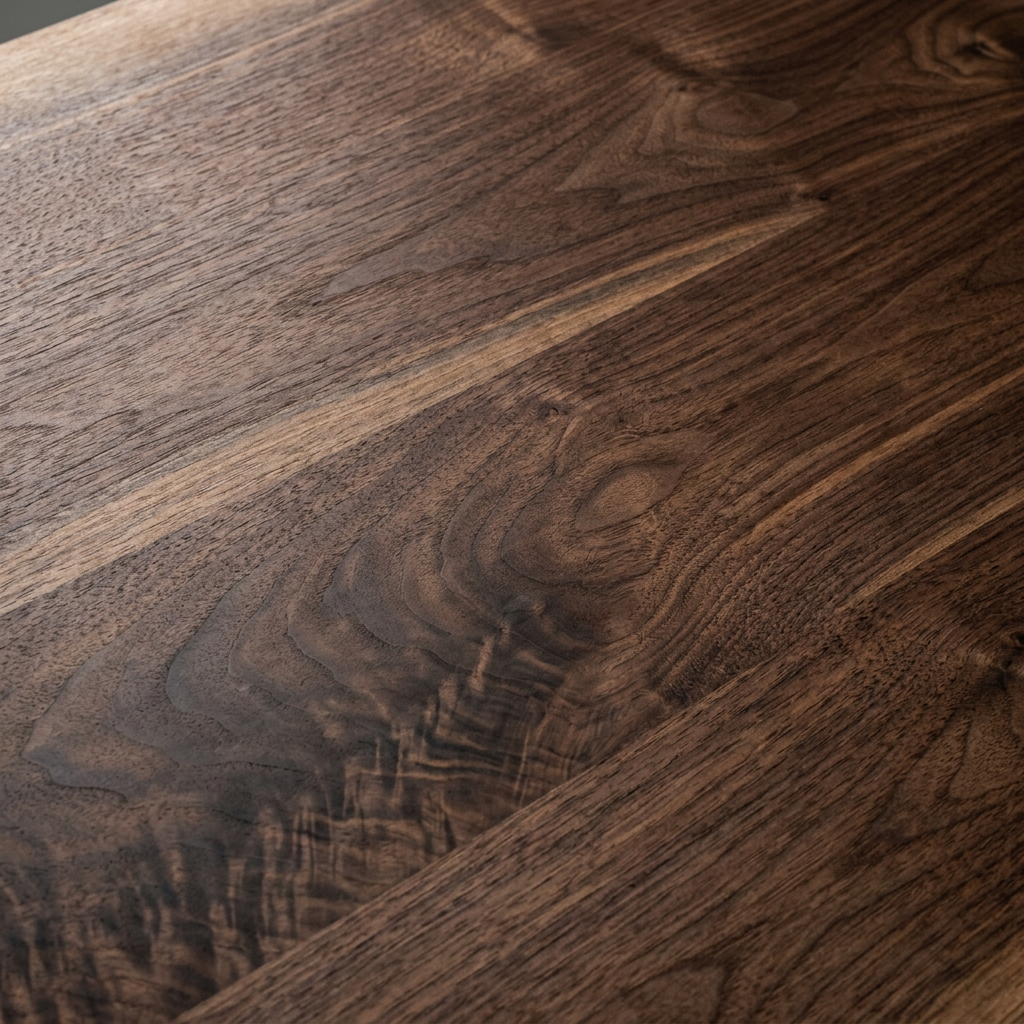
- •Walnut — Beautiful color, easy to work
- •Cherry — Gorgeous when finished
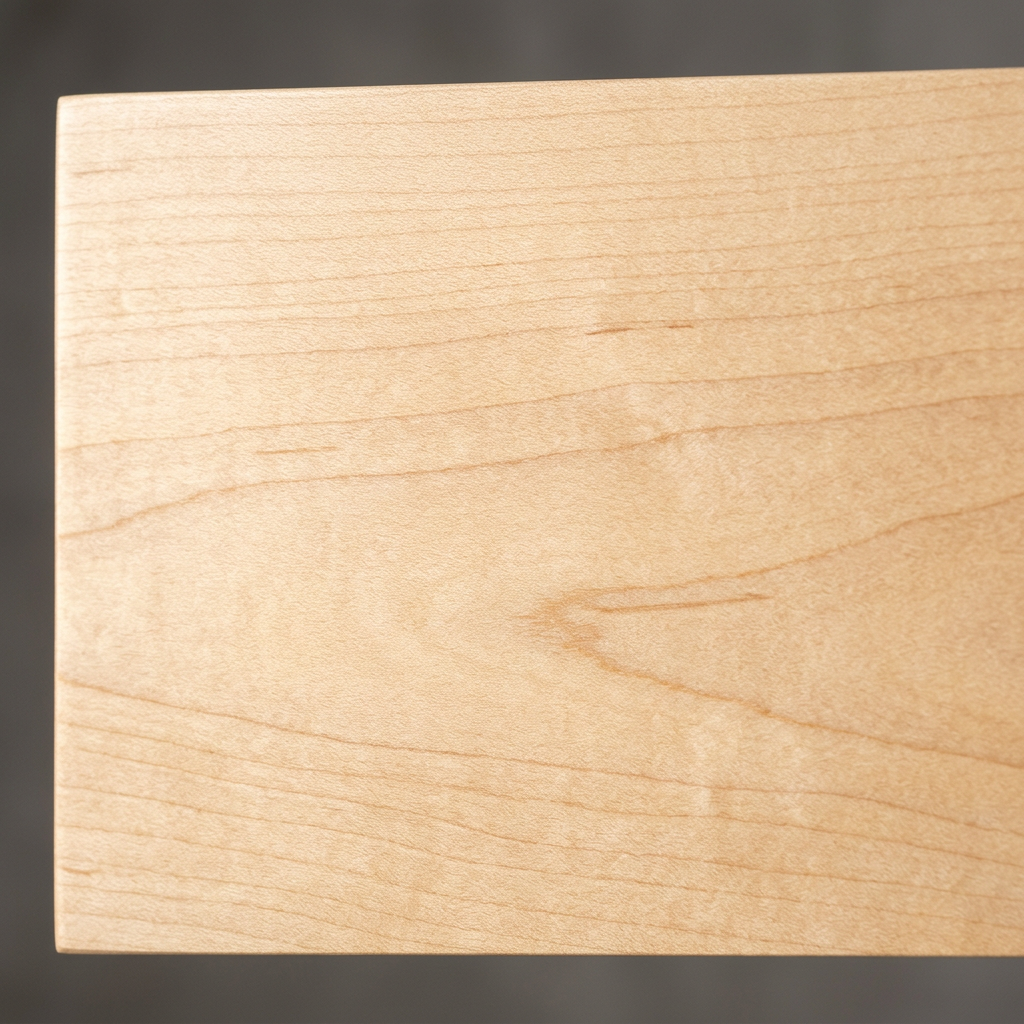
- •Maple — Especially figured maple for stunning results
- •Exotic scraps — Great way to use small pieces of special wood
Avoid very soft woods (they dent easily) and extremely hard exotics (difficult to sand smooth).
Step-by-Step Process
Step 1: Draw the Pattern
- •Draw your bowl shape on the top of the board — oval or round
- •Mark concentric rings about 3/8-1/2" apart
Step 2: Tilt the Bandsaw Table
- •Tilt the table 2-5 degrees (more tilt = steeper bowl sides)
- •The tilt creates the offset that gives the bowl its depth
Step 3: Cut the Rings
- •Start from the outside and cut each ring
- •Make a straight entry cut to reach each ring
- •Cut each ring completely, then remove it
- •Label each ring to maintain order
Step 4: Assemble
- •Flip alternating rings and nest them together
- •The tilted cuts create a stepped bowl shape
- •Glue and clamp each ring, one at a time
- •Align grain direction for the most natural look
Step 5: Shape and Sand
- •Use a spindle sander, rotary tool, or hand sanding to smooth the steps into curves
- •Start with 80 grit to remove step marks
- •Progress through 120, 180, 220, 320, 400 grit
Step 6: Finish
- •For food use: mineral oil + beeswax
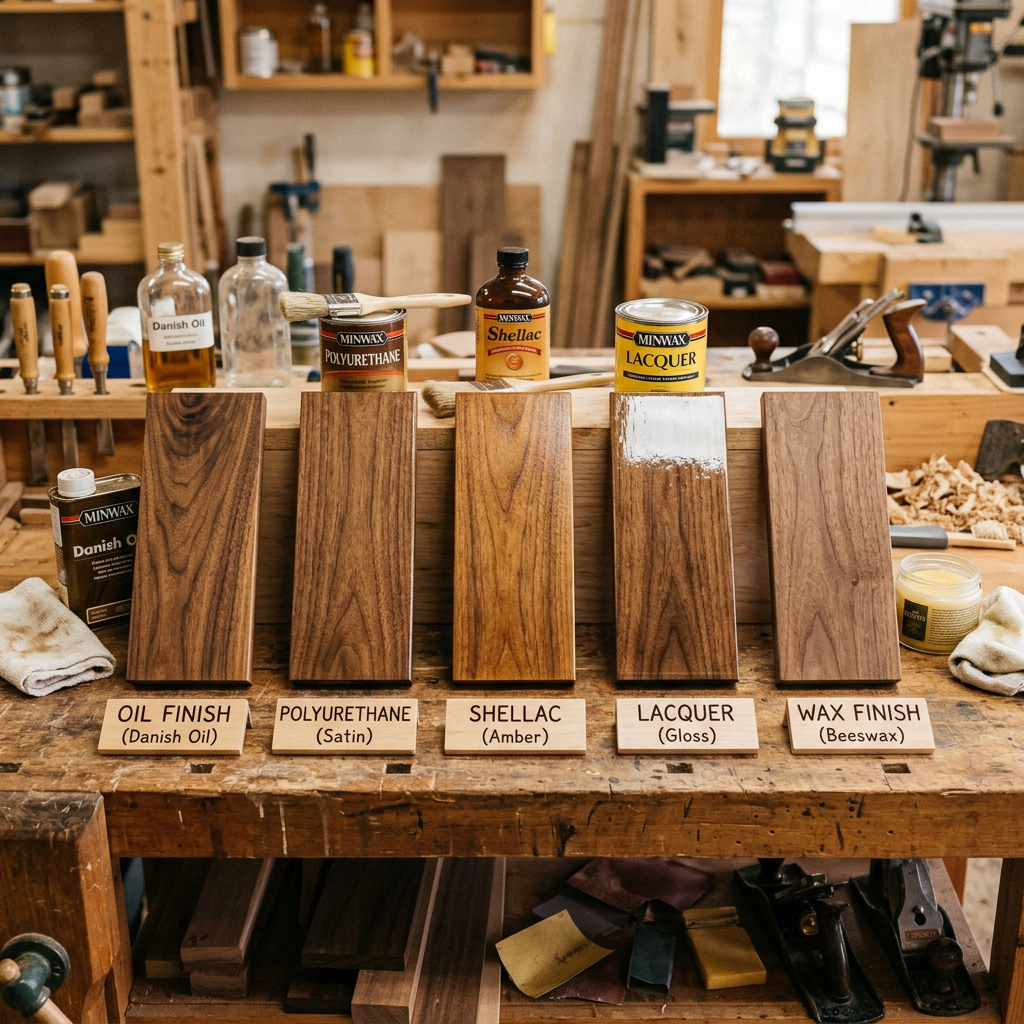
- •For decorative: any finish — Danish oil, lacquer, or polyurethane
Tips for Success
- •Use a sharp blade — dull blades cause drift and rough cuts
- •Cut slowly — rushing leads to uneven rings
- •Keep rings in order — they only fit together one way
- •Grain alignment matters — aligning grain across rings creates a seamless look
- •Start simple — Make your first bowl from inexpensive wood
- •The entry cuts will be visible — plan their location on the least visible side
Advanced Variations
- •Segmented bowls: Use different species for each ring
- •Inlaid bowls: Add contrasting wood strips between rings
- •Oval bowls: Create an elliptical starting shape
- •Multi-layer bowls: Start with thicker stock for deeper bowls
Bandsaw bowls make excellent gifts and are a great way to use special wood scraps. Each one is unique.